")
How to Use Text to Speech on Mac: The Complete Guide (2026)
Learn how to use text to speech on Mac with built-in tools, shortcuts, and AI voices. Plus how to do speech to text with Dictation — step by step.
Your Mac can read any text aloud — and transcribe your voice back into text — using features that ship free with macOS. Most people never turn them on because the settings are buried three menus deep.
This guide shows you every method, with the exact steps, keyboard shortcuts, and troubleshooting fixes for macOS Ventura, Sonoma, and Sequoia. You'll also learn when the built-in tools are enough, and when you need a higher-quality AI alternative.
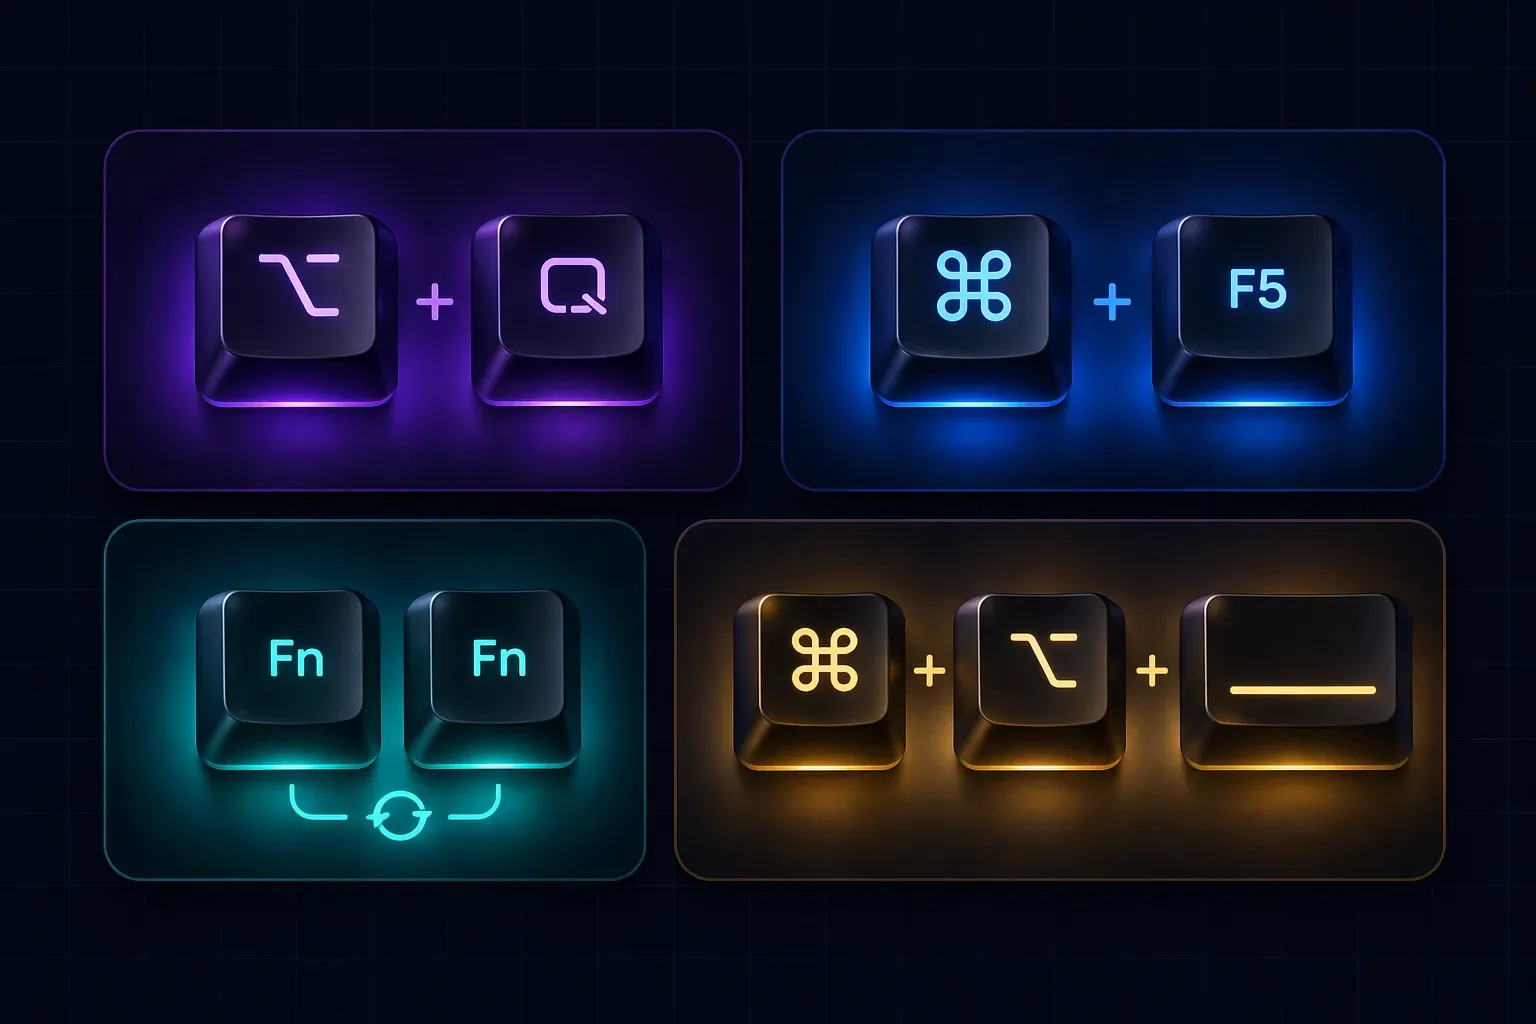
Quick Answer: To use text to speech on Mac, open System Settings → Accessibility → Spoken Content, turn on "Speak selection", then highlight any text and press Option + Esc to hear it read aloud. For speech to text, enable Keyboard → Dictation and press Fn twice to start dictating.
In this guide, you'll learn:
- The 4 ways to convert text to speech on Mac (including one hidden pro option)
- How to enable and use Dictation for speech to text
- Every keyboard shortcut, in one cheat sheet
- Fixes for the 4 most common problems (grayed-out settings, broken shortcuts, missing voices)
Does Mac Have Text to Speech Built In?
Yes. Every Mac running macOS Ventura or later includes two free text-to-speech features — Spoken Content and VoiceOver — along with Dictation for speech to text. All three work offline on Apple Silicon Macs and support more than 40 languages.
The built-in voices are good enough for casual use (proofreading, accessibility, quick listens). For professional voiceovers, podcasts, or YouTube content, you'll want an AI text to speech tool with studio-quality voices.
Here's how all four options compare:
| Method | Best For | Voice Quality | Offline | Languages | Cost |
|---|---|---|---|---|---|
| Spoken Content | Reading articles, proofreading | Good | Yes | 40+ | Free |
| VoiceOver | Full screen reader (accessibility) | Good | Yes | 40+ | Free |
| Dictation (STT) | Typing by voice | — | Yes* | 40+ | Free |
| AnySpeech (AI TTS) | Voiceovers, podcasts, MP3 export | Studio-quality | No | 100+ | Free tier available |
Method 1: Spoken Content (The Built-in Text to Speech)
Spoken Content is the feature most people mean when they say "text to speech on Mac." It reads selected text aloud in any app — Safari, Pages, Mail, Notes, even PDFs in Preview.
How to Enable Spoken Content on Mac
- Click the Apple menu → System Settings (called System Preferences on older macOS).
- Click Accessibility in the sidebar.
- Scroll down and click Spoken Content.
- Turn on Speak selection.
- (Optional) Click the i info button next to "Speak selection" to change the keyboard shortcut. The default is Option + Esc.
That's it. Highlight any text anywhere on your Mac, press the shortcut, and your Mac reads it aloud.
The Keyboard Shortcut: Option + Esc
Option + Esc is the fastest way to use text to speech on Mac. Highlight text, press the shortcut, and playback starts instantly. Press it again to stop.
You can also change it to something easier to remember (many people prefer Command + Shift + S) in the same Spoken Content settings panel.
How to Change the Voice and Reading Speed
- In System Settings → Accessibility → Spoken Content.
- Click the System Voice dropdown.
- Pick any installed voice, or click Manage Voices… to see the full list.
- Use the Speaking Rate slider to adjust speed.
Default voices (like Samantha, Alex, or Fred) are basic but functional. The real quality jump comes from downloading Premium voices — which most users never discover.
How to Download Premium Siri Voices (The Hidden Upgrade)
Apple ships a small set of low-quality voices by default, but the premium "Siri" and "Enhanced" voices are dramatically better. They're free — you just have to download them.
- Open System Settings → Accessibility → Spoken Content.
- Click the System Voice dropdown and choose Manage Voices…
- Find any voice labeled (Premium) or Siri Voice 1–5.
- Click the download icon next to it. Each voice is 100–500 MB.
- Once downloaded, select it from the main System Voice dropdown.
Premium voices sound about 3× more natural than the default ones. If you only change one thing after reading this guide, make it this.
Limitations of Built-in Text to Speech on Mac
Spoken Content is great for personal use, but it has real limits:
- No MP3 export. You can't save the audio to a file.
- No emotion or style control. Every sentence sounds the same.
- Limited voice variety. Even premium voices top out at ~20 options per language.
- Not for commercial use. Apple's license restricts redistribution.
If any of these block your workflow, jump to Method 3.
Method 2: VoiceOver (Full Screen Reader)
VoiceOver is a different beast. It doesn't just read selected text — it reads everything on your screen, including menus, buttons, and notifications. It's designed for people who navigate Mac without sight.
Spoken Content vs VoiceOver: Which Should You Use?
| Feature | Spoken Content | VoiceOver |
|---|---|---|
| Reads selected text | ✅ | ✅ |
| Reads UI elements | ❌ | ✅ |
| Navigation by voice | ❌ | ✅ |
| Best for | Casual listening | Full accessibility |
| Learning curve | 30 seconds | Several hours |
If you just want your Mac to read articles or emails to you, use Spoken Content. If you need a full screen reader, use VoiceOver.
How to Turn VoiceOver On and Off
Press Command + F5 (or Command + Fn + F5 on laptops without a Touch Bar). The same shortcut toggles it off.
The first time you turn it on, a tutorial walks you through the basics. It's worth running once, even if you don't plan to use VoiceOver daily — the tutorial teaches shortcuts that also apply to Spoken Content.
Method 3: AI Text to Speech Apps (For Higher Quality)
When the built-in voices aren't good enough — YouTube videos, podcasts, client work, anything you'll publish — you need an AI text to speech tool. These produce voices that are nearly indistinguishable from human recordings.

Why Consider a Third-Party AI TTS Tool
Built-in Mac voices are fine for your ear. They're not fine for your audience's ear. The difference becomes obvious the moment you hear a modern AI voice:
- Natural intonation. Pauses, emphasis, and breathing match how humans actually speak.
- Emotion and style control. Happy, sad, calm, excited — on demand.
- 100+ languages and accents. Including regional varieties (US/UK English, Mexican/Spain Spanish).
- Downloadable MP3s. Use them anywhere — video editors, podcasts, phone systems.
- Voice cloning. Create a custom voice from a short sample of your own speech.
Top AI Text to Speech Tools for Mac
Three options worth knowing about:
| Tool | Free Tier | Voice Cloning | Best For |
|---|---|---|---|
| AnySpeech | Yes (unlimited Basic) | Yes (1 free clone) | Content creators, all-in-one use |
| ElevenLabs | Limited monthly characters | Yes (paid) | English-heavy production |
| Speechify | 7-day trial only | No | Listening to PDFs/articles |
For a broader comparison, read our best text to speech tools guide. Speechify's free access is trial-only with no cloning — if that's a dealbreaker, see the best Speechify alternatives.
How to Use AnySpeech on Mac in 3 Steps
AnySpeech runs in your browser — there's nothing to install.
- Go to anyspeech.io/text-to-speech in Safari or Chrome.
- Paste your text, pick a voice from the 200+ options, and click Generate.
- Download the MP3 or share a direct link.
The free plan covers short scripts and social posts. For longer work, paid plans unlock more characters per request and access to the full premium voice library. See how AI text to speech works for the full breakdown.
Method 4: How to Use Speech to Text on Mac (Dictation)
Dictation is the reverse of text to speech — you talk, your Mac types. It's the fastest way to write on a Mac if your hands are busy, you're on a long document, or you just think faster than you type.
How to Enable Dictation on MacBook
- Open System Settings → Keyboard.
- Scroll down to Dictation.
- Toggle it on. macOS will download a ~200 MB language model the first time.
- Choose your Language (tap the dropdown to see 40+ options, including regional accents).
- Pick a Shortcut. The default — press Fn twice — is the easiest.
How to Start Dictation on Mac
With Dictation enabled, click into any text field (in any app — Safari, Pages, Slack, anywhere you can type) and press Fn twice. A small microphone icon appears next to your cursor. Start talking.
Say "period," "comma," "new line," or "new paragraph" to add punctuation.
Press Fn twice again, or the Done button, to stop.
Supported Languages
Dictation works in over 40 languages, including English (US/UK/Australia/India/Ireland/Singapore/South Africa), Spanish, Mandarin, Cantonese, French, German, Italian, Japanese, Korean, Portuguese, Russian, Arabic, Turkish, and many more. You can enable multiple languages at once and switch between them from the dictation popup.
Offline vs Online Dictation
On Apple Silicon Macs (M1 and later), Dictation works fully offline. Nothing you say gets sent to Apple's servers. It's also unlimited — you can dictate for as long as you want without the old 60-second cap.
On Intel Macs, Dictation still works but processes audio in the cloud, which means it needs an internet connection and has shorter session limits.
How to Turn Off Dictation on Mac
Go back to System Settings → Keyboard → Dictation and toggle it off. You can also disable just the shortcut if you keep accidentally triggering it.
Text to Speech vs Speech to Text on Mac: Quick Comparison
Two different features, often confused. Here's the clean breakdown:
| Text to Speech | Speech to Text | |
|---|---|---|
| Direction | Text → Audio | Audio → Text |
| Mac feature name | Spoken Content / VoiceOver | Dictation |
| Shortcut | Option + Esc | Fn, Fn |
| Use case | Proofreading, listening, accessibility | Typing by voice, transcription |
| Offline | Yes | Apple Silicon only |
| File output | None (built-in) | Text in any app |
If you want your Mac to read something to you, you need text to speech. If you want your Mac to type what you say, you need speech to text.
Troubleshooting Common Issues
"Speak Selection" Is Grayed Out
Usually this means Spoken Content is locked by a Screen Time or MDM (Mobile Device Management) policy. If your Mac is owned by your employer or school, contact your admin.
On personal Macs, try this: sign out of System Settings → Screen Time → Content & Privacy, then re-enable Spoken Content. Restart if needed.
Option + Esc Does Nothing
Three common causes:
- The shortcut wasn't enabled. Reopen System Settings → Accessibility → Spoken Content and click the i next to "Speak selection" to confirm the shortcut.
- Another app is using the same shortcut. Check Raycast, Alfred, Rectangle, and any text expansion tool.
- You didn't select text first. Spoken Content only works when something is highlighted.
Dictation Doesn't Appear in System Settings
On macOS Sonoma and Sequoia, Dictation lives under Keyboard, not Accessibility. On older versions (Ventura and earlier), check System Settings → Keyboard → Dictation tab.
If it's still missing, your Mac may not support offline Dictation. Intel Macs need internet; very old Macs may need a software update.
A Premium Voice Download Is Stuck
Cancel the download, restart your Mac, and try again over a reliable Wi-Fi connection. Premium voices are large (up to 500 MB) and the download can silently fail on spotty networks. Some users report better luck downloading overnight.
Frequently Asked Questions
How do I make my Mac read text aloud?
Enable Speak selection in System Settings → Accessibility → Spoken Content, highlight any text, then press Option + Esc. Your Mac will read the selection out loud using the built-in voice.
What's the keyboard shortcut for text to speech on Mac?
Option + Esc by default. You can change it to any combination you prefer in System Settings → Accessibility → Spoken Content. Many users switch to Command + Shift + S to avoid accidental triggers.
How do I turn on speech to text on Mac?
Go to System Settings → Keyboard → Dictation and toggle it on. Once enabled, press Fn twice in any text field to start dictating.
Is Mac dictation free?
Yes. Dictation is built into every Mac at no cost, with unlimited usage on Apple Silicon and 40+ supported languages.
Can Mac read PDFs aloud?
Yes. Open a PDF in Preview, select the text you want read (Command + A selects the whole page), and press Option + Esc. For full-document reading, use VoiceOver instead.
Does Mac text to speech work offline?
Yes. Spoken Content and VoiceOver work fully offline using locally installed voices. Dictation works offline on Apple Silicon Macs (M1 and later); Intel Macs need internet.
How do I get better voices on Mac?
Download the Premium or Siri voices from System Settings → Accessibility → Spoken Content → System Voice → Manage Voices. They're free and sound noticeably more natural than the defaults. For studio-quality AI voices, try AnySpeech.
Why is text to speech not working on my Mac?
The four most common causes: Spoken Content isn't enabled, the keyboard shortcut conflicts with another app, no text was selected before pressing the shortcut, or a Screen Time restriction is blocking it. See the troubleshooting section above.
Can I export Mac's text to speech as an MP3?
Not with the built-in tools — Spoken Content only plays audio, it doesn't save it. To export as MP3, use an online text to speech tool that offers download.
Does MacBook Air have text to speech?
Yes. Every MacBook Air (including the M1, M2, and M3 models) includes Spoken Content, VoiceOver, and Dictation. These features are identical across MacBook Air, MacBook Pro, iMac, and Mac mini — they're part of macOS, not specific hardware.
Next Steps
You now have four ways to use text to speech on Mac, plus Dictation for the reverse direction. For quick personal use, Spoken Content with a downloaded Premium voice is hard to beat. For accessibility, VoiceOver is the most powerful option Apple ships.
When you need more — MP3 export, emotion control, 100+ languages, or a voice that doesn't sound like stock macOS — that's when a dedicated AI voice generator earns its place.
Ready to hear the difference?
- Try our free text to speech tool — no signup, no limits.
- Or browse 200+ AI voices to find the perfect match for your project.
Questions about a method we didn't cover? Reply to support@anyspeech.io and we'll add it to the guide.
Last updated: April 2026. All steps verified on macOS Sequoia 15.4. See Apple's Spoken Content documentation and Dictation documentation for official reference.
ผู้เขียน

หมวดหมู่
บทความเพิ่มเติม
")
วิธีเปิด Voice Isolation: คู่มือทีละขั้นตอนสำหรับทุกอุปกรณ์ (2026)
เรียนรู้วิธีเปิด voice isolation บน iPhone, iPad, Mac และ Android คำแนะนำทีละขั้นตอนสำหรับ FaceTime โทรศัพท์ และเคล็ดลับสำหรับเครื่องมือแยกเสียง AI
")
การแปลงข้อความเป็นเสียงพูดเพื่อการเข้าถึง: คู่มือสำหรับผู้มีภาวะดิสเล็กเซีย สมาธิสั้น และสายตาเลือนราง (2026)
เทคโนโลยีแปลงข้อความเป็นเสียงพูดช่วยผู้มีภาวะดิสเล็กเซีย สมาธิสั้น และสายตาเลือนรางได้อย่างไร — ช่วยใคร งานวิจัยบอกอะไร ควรมองหาอะไรในเครื่องมือ และจะเริ่ม 'อ่านด้วยหู' ฟรีได้อย่างไร

วิธีใช้ Text to Speech ในปี 2026: คู่มือฉบับสมบูรณ์สำหรับทุกแพลตฟอร์ม
เรียนรู้วิธีใช้ text to speech บน iPhone, Android, Google Docs, TikTok, Discord และอื่นๆ คู่มือทีละขั้นตอนสำหรับทุกอุปกรณ์และแพลตฟอร์ม พร้อมเคล็ดลับเพื่อผลลัพธ์ที่ดีที่สุด